GuardTime has been updated to GH Timeclock to provide additional features. Currently, this is avilable on the AppStore. For Android, this is to follow.
Note: Please reach out to Guardhouse Success Manager to schedule a demo.
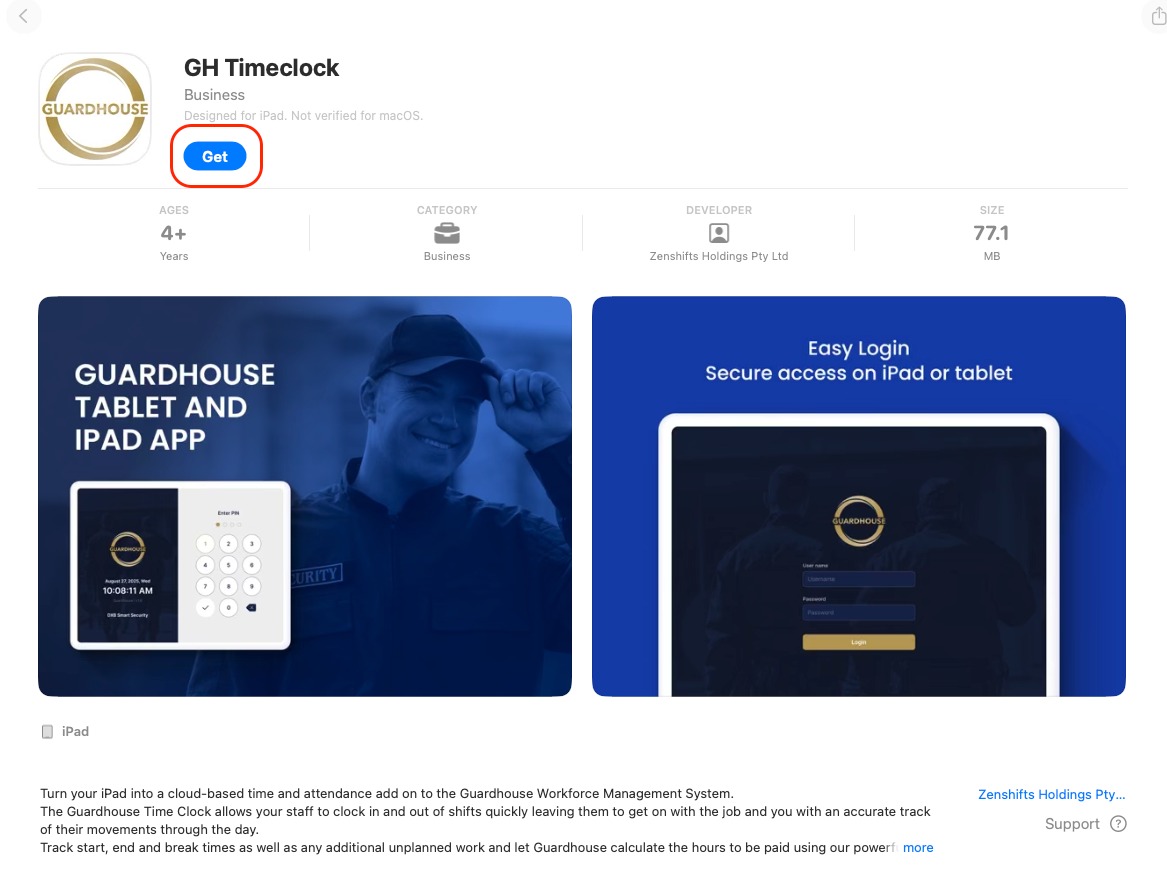
1. Go to the AppStore and search GH Timeclock. Download for your iPad.
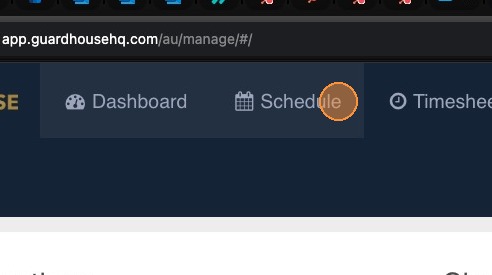
2. Go to the Schedule page.
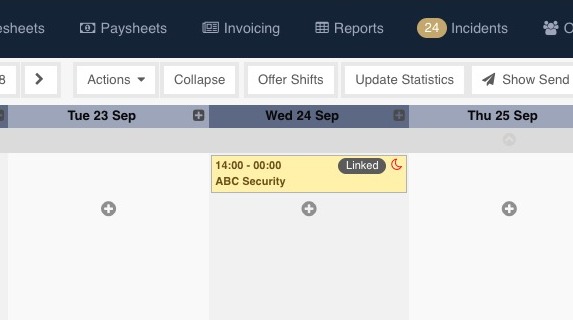
3. Create your shifts (direct or linked) as normal. In the example below, a linked shift has been created.
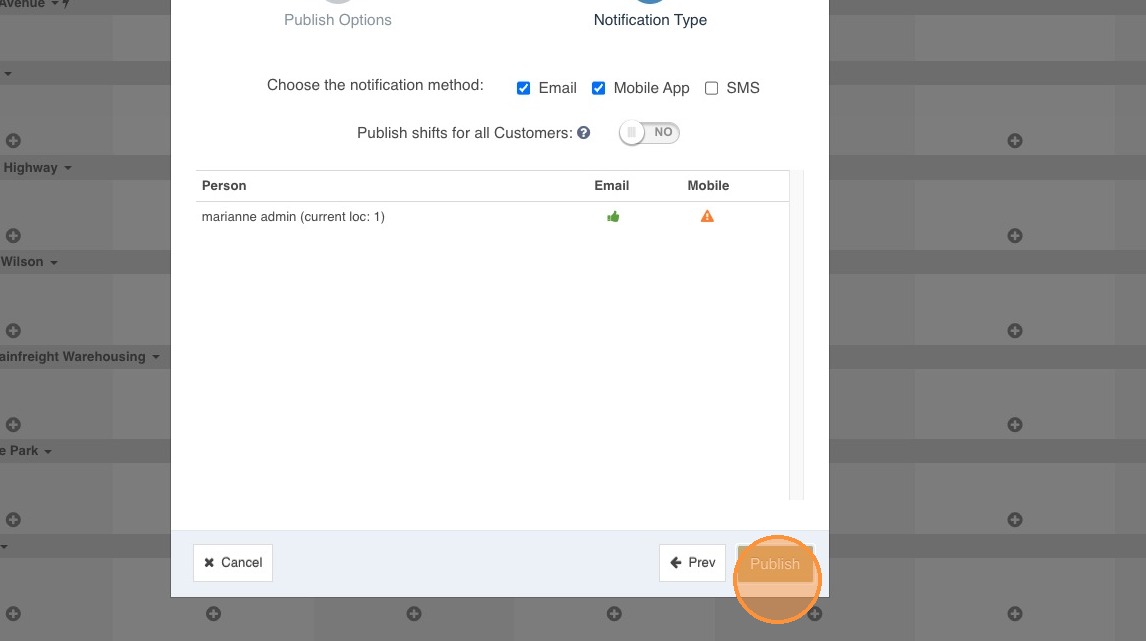
4. Publish the shift
5. Open GuardTime 2.0
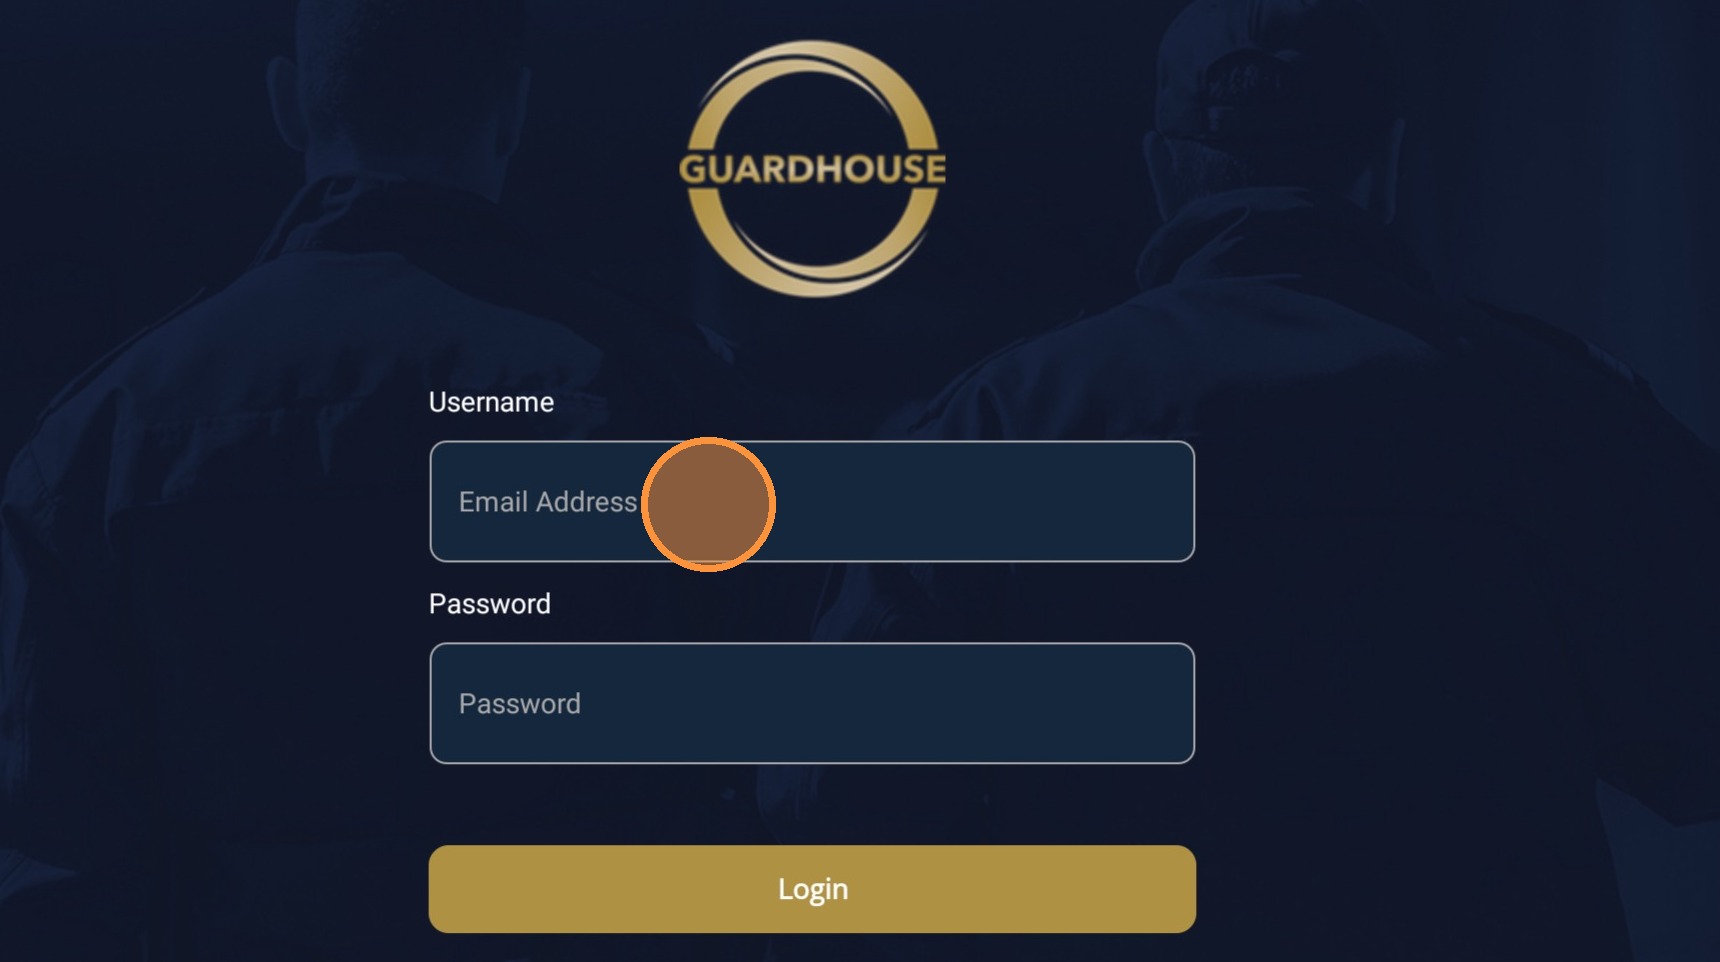
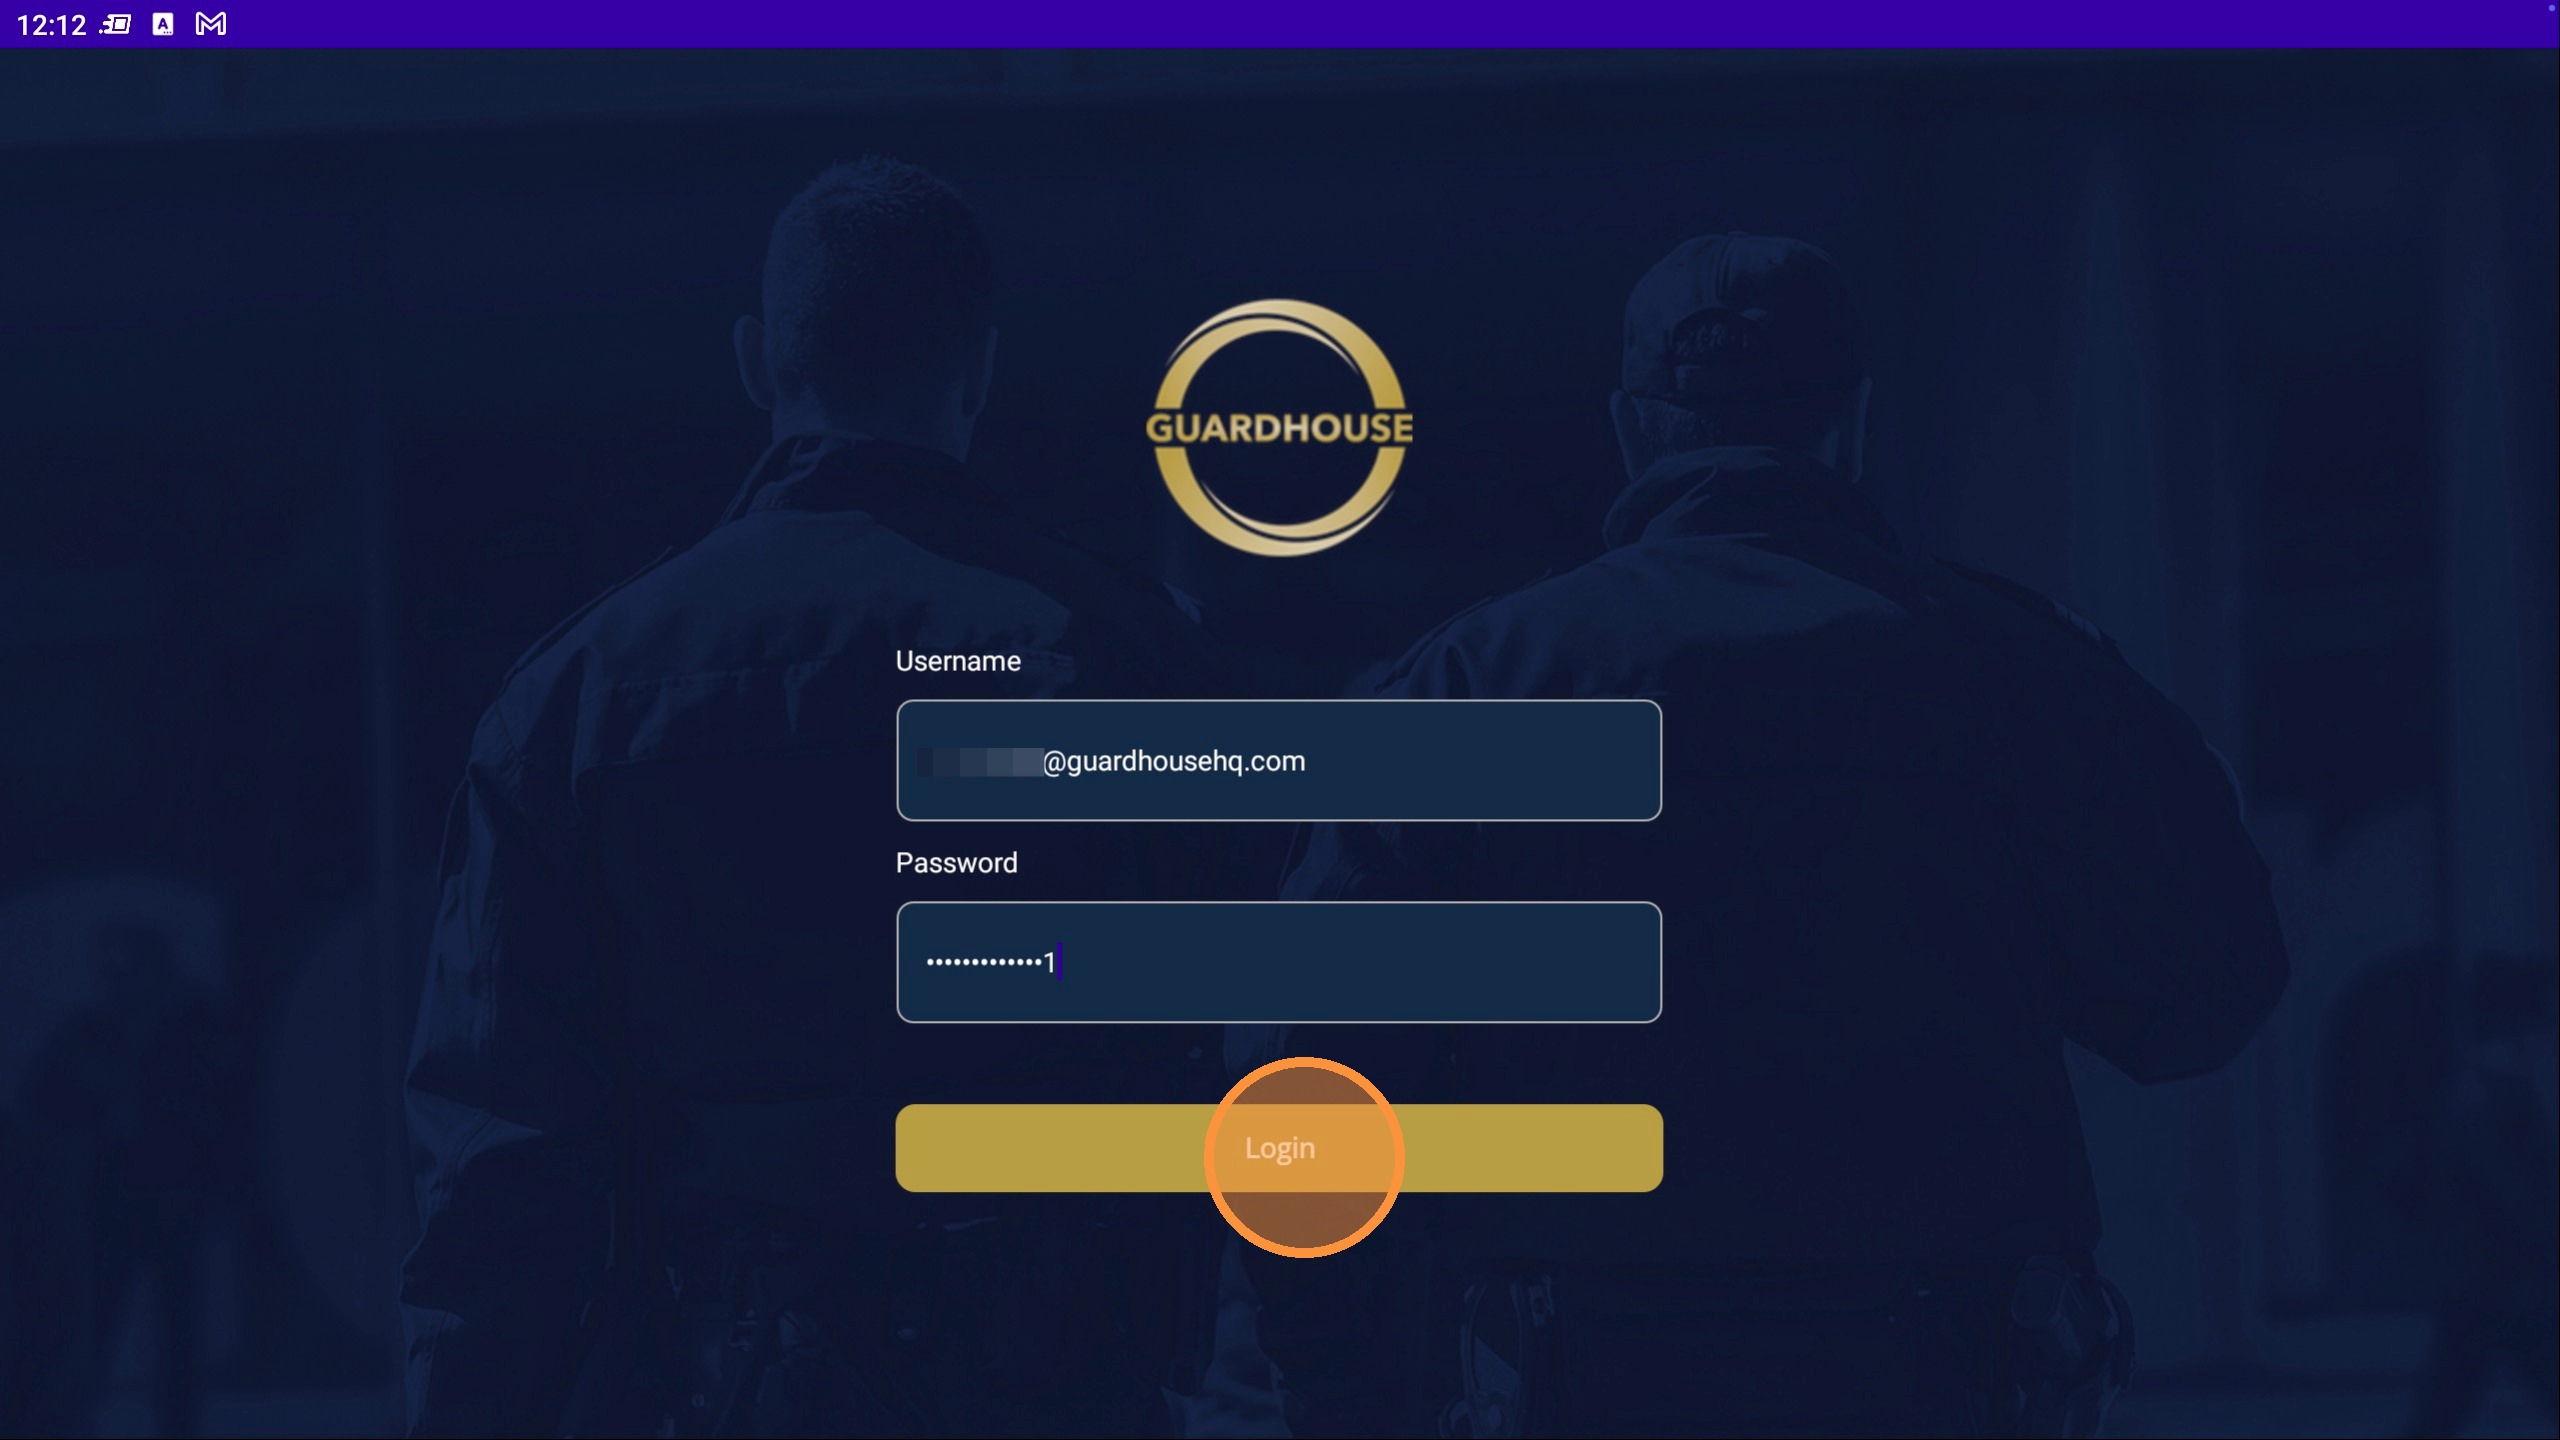
6. Input your admin/manager details and login
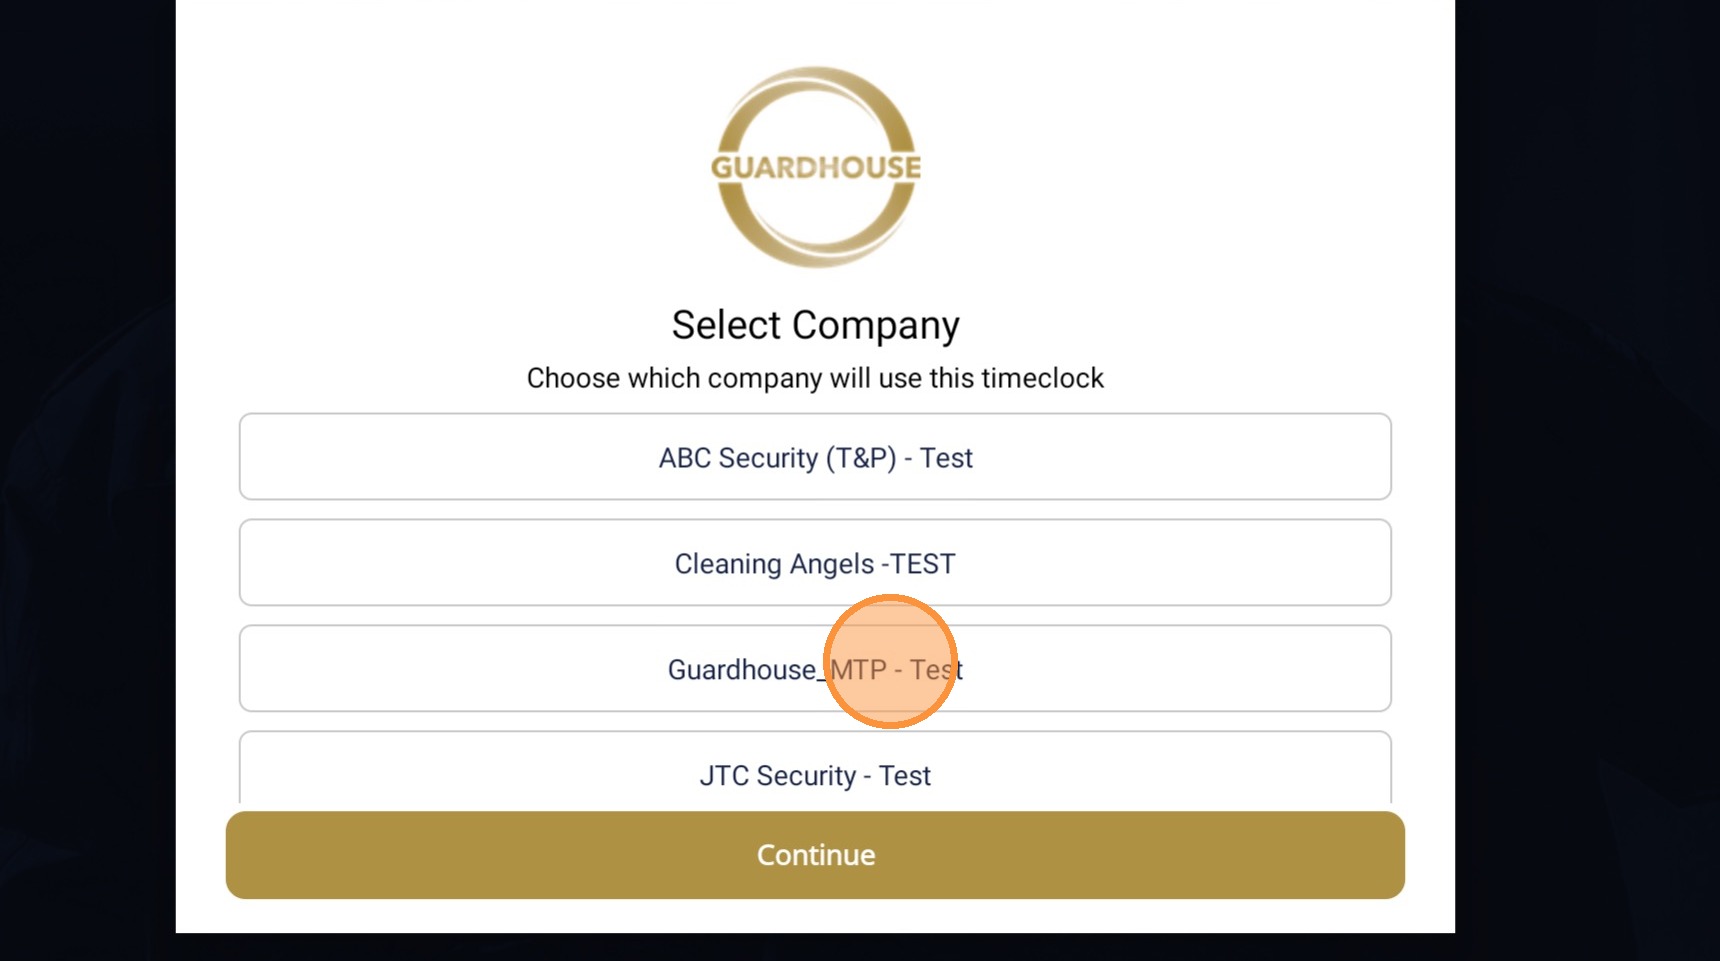
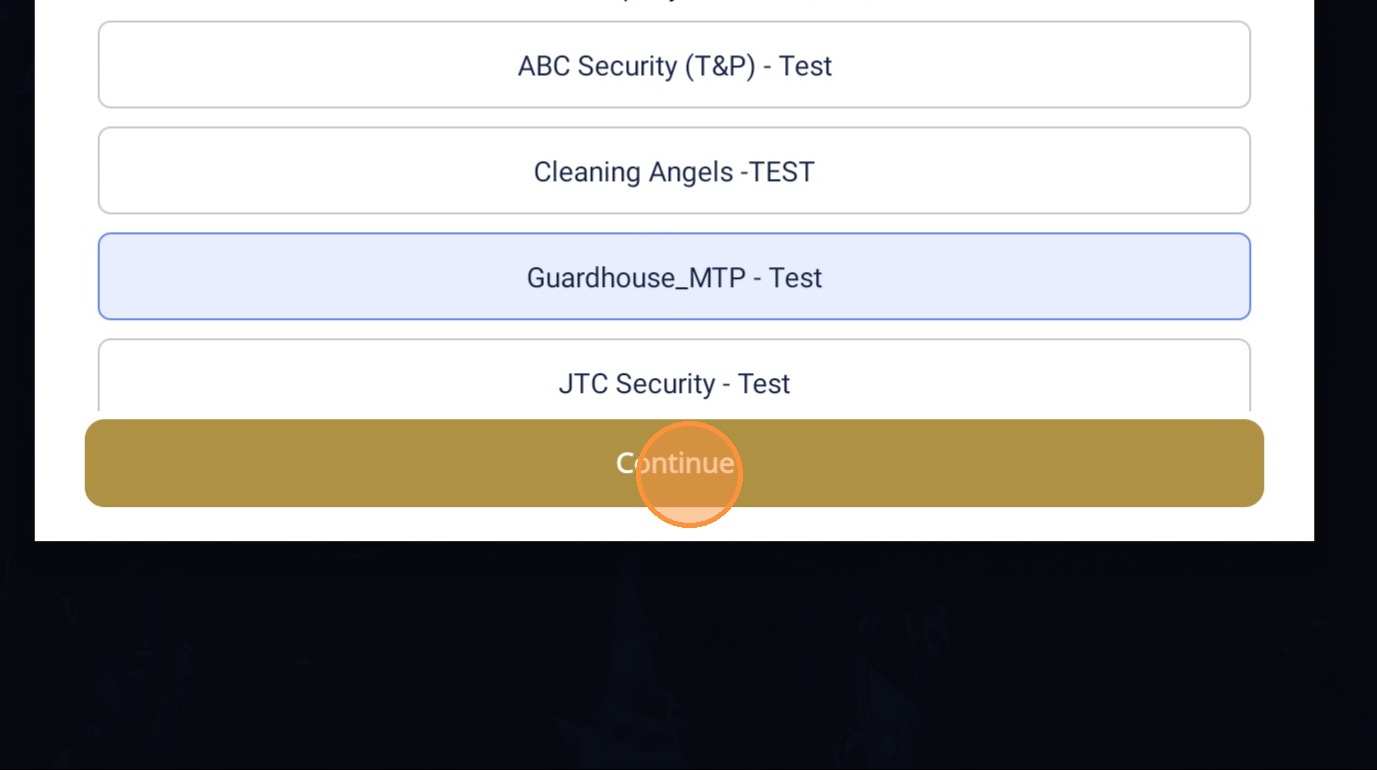
7. Switch company is now available for GH Timeclock. Choose the Guardhouse account you would like to set up the tablet clock in login for.
8. Click Continue
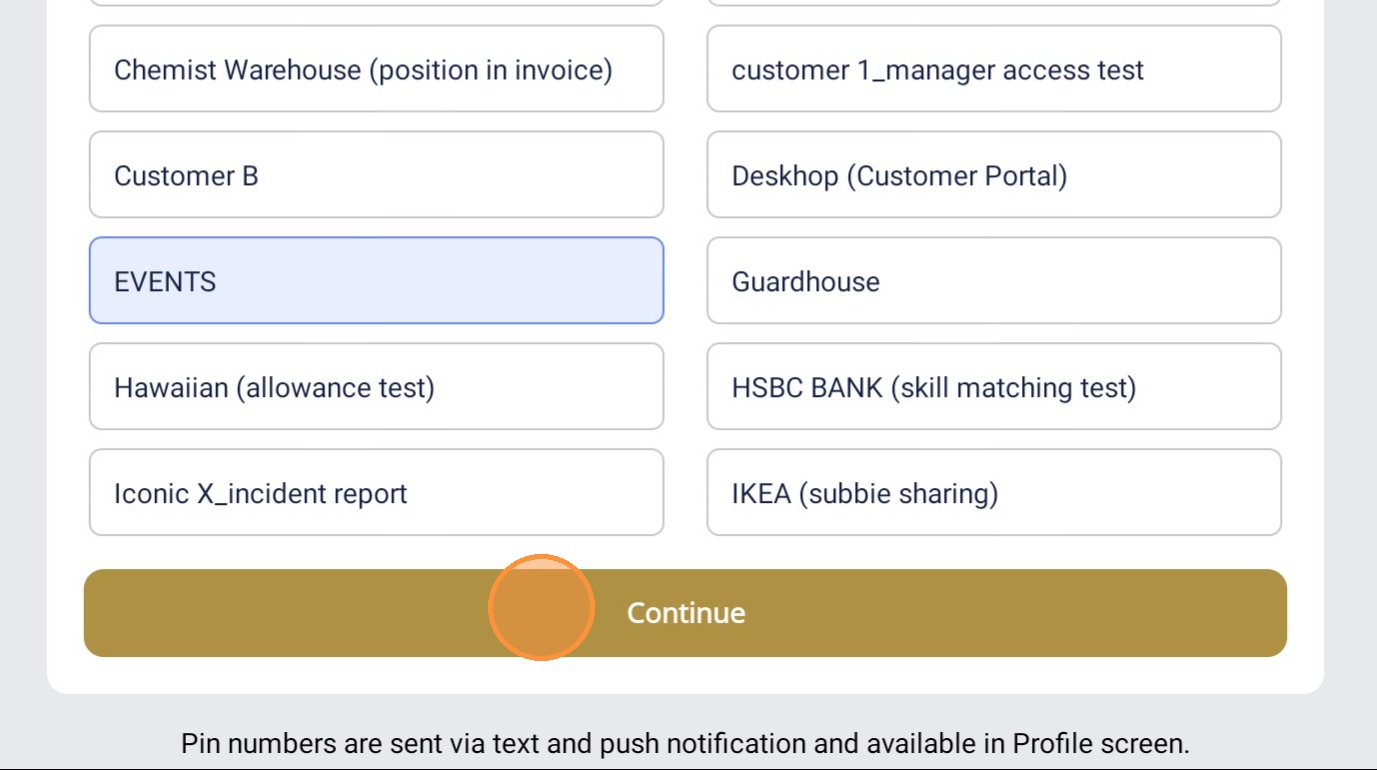
9. Choose a customer. Only one customer can be chosen.
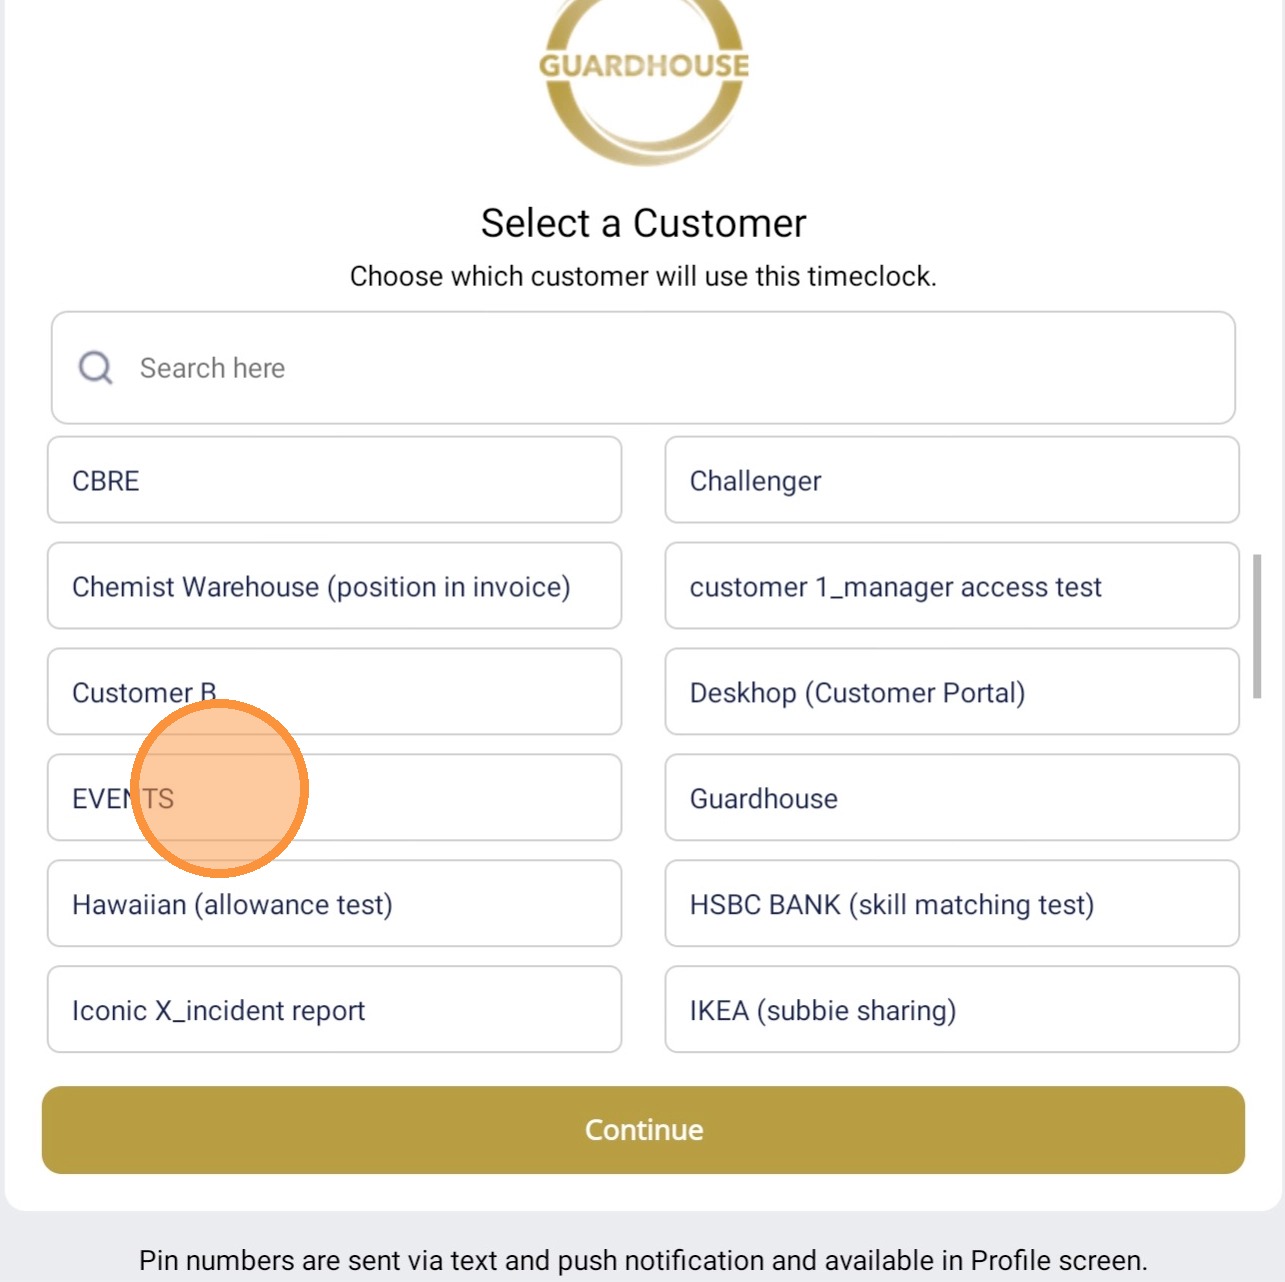
10. Click Continue
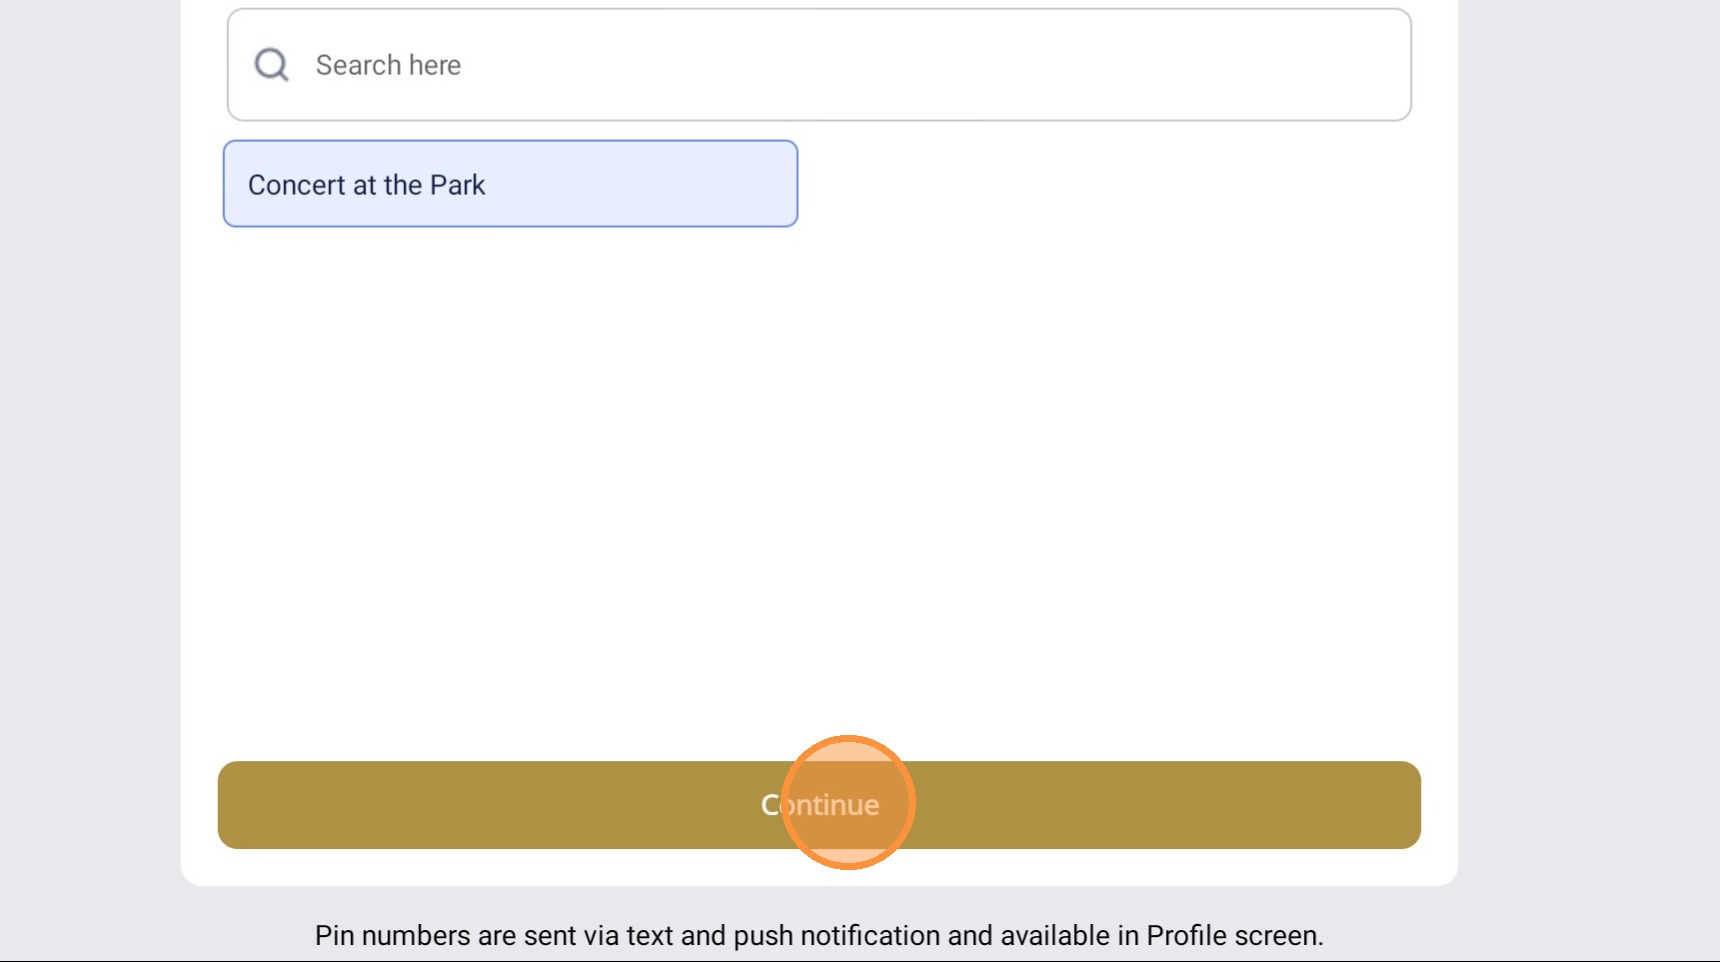
11. Select the site/s
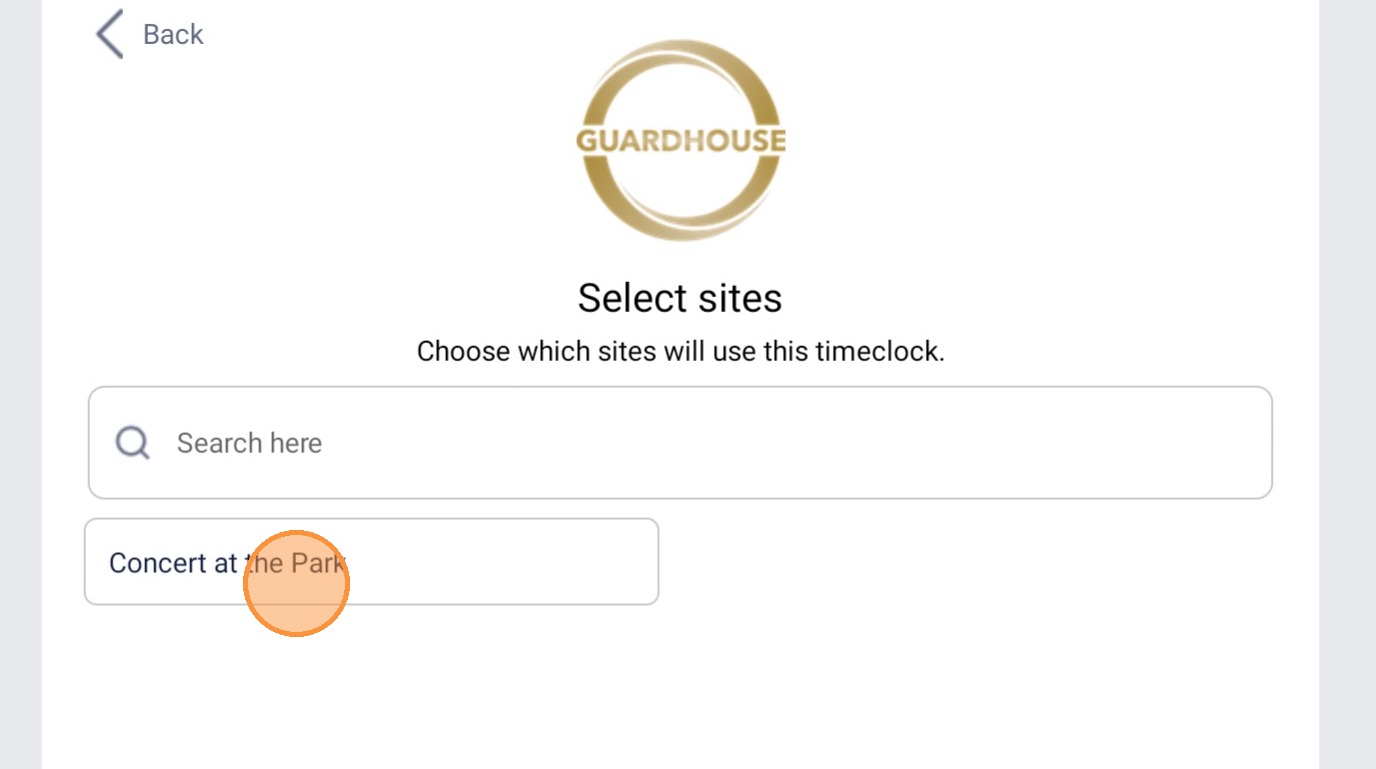
12. Click Continue
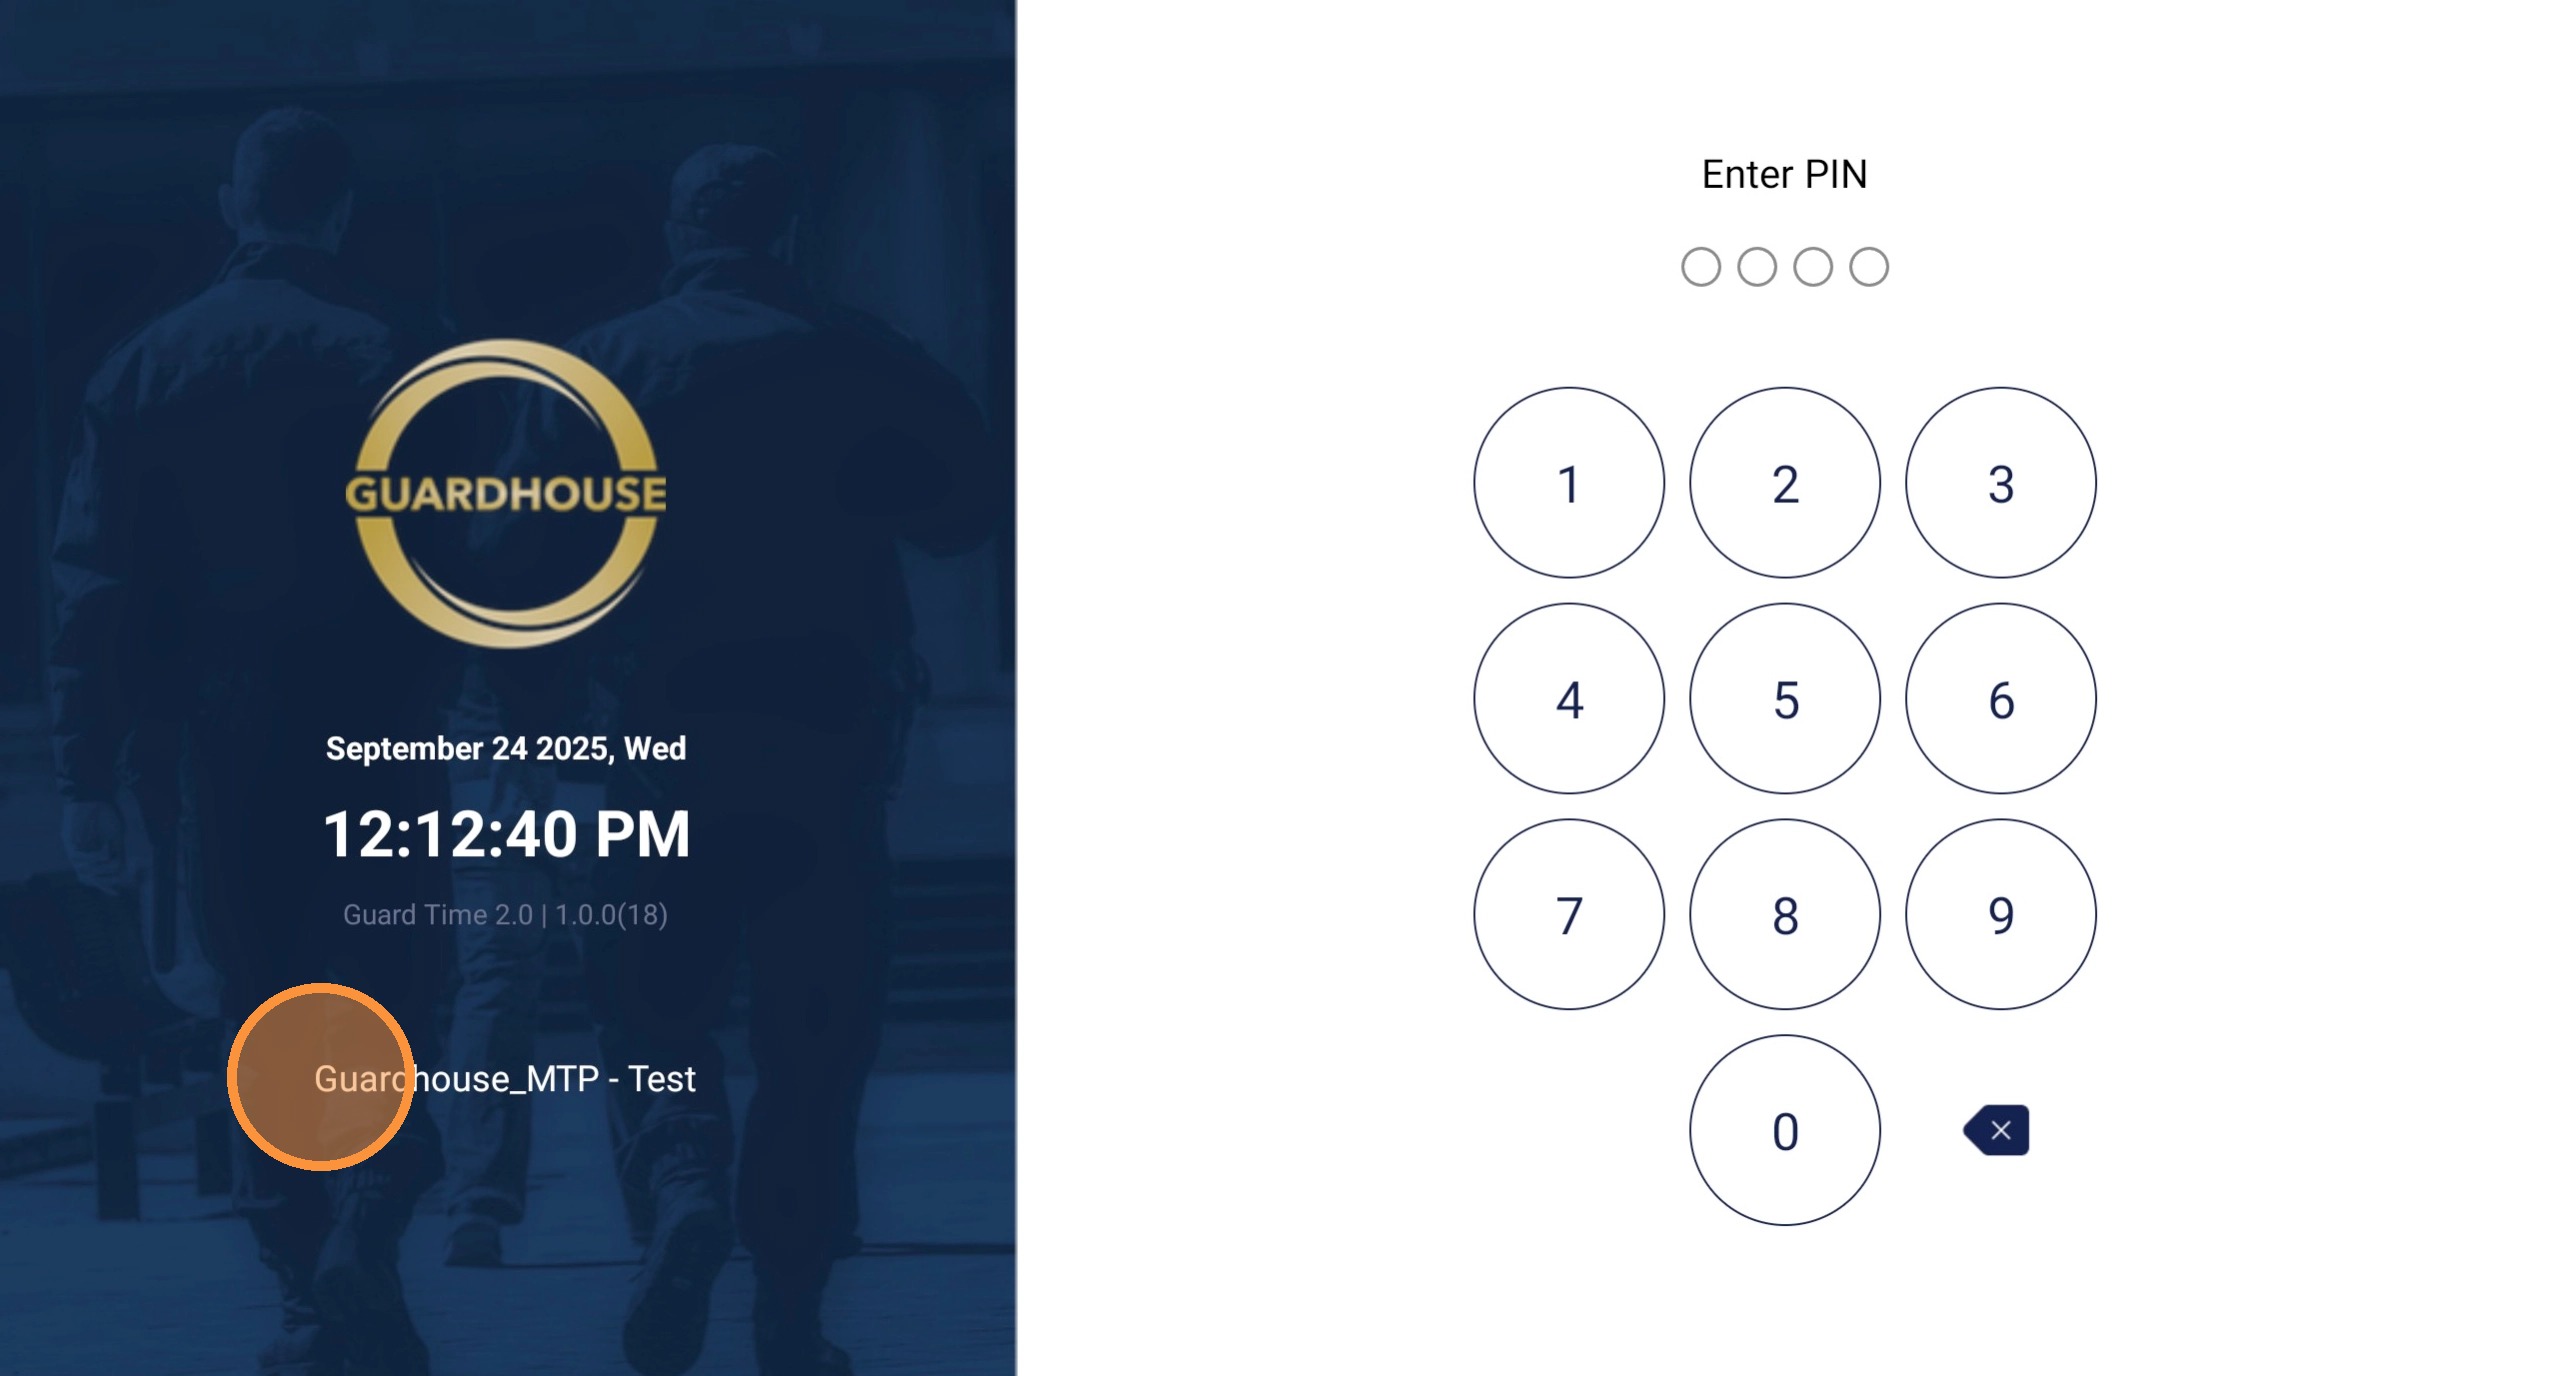
13. Once the set-up is done, you will be taken to the clock-in page. This page has been improved to show the version of GH Timeclock in use and the name of the Manager/Administrator who did the timeclock set-up.
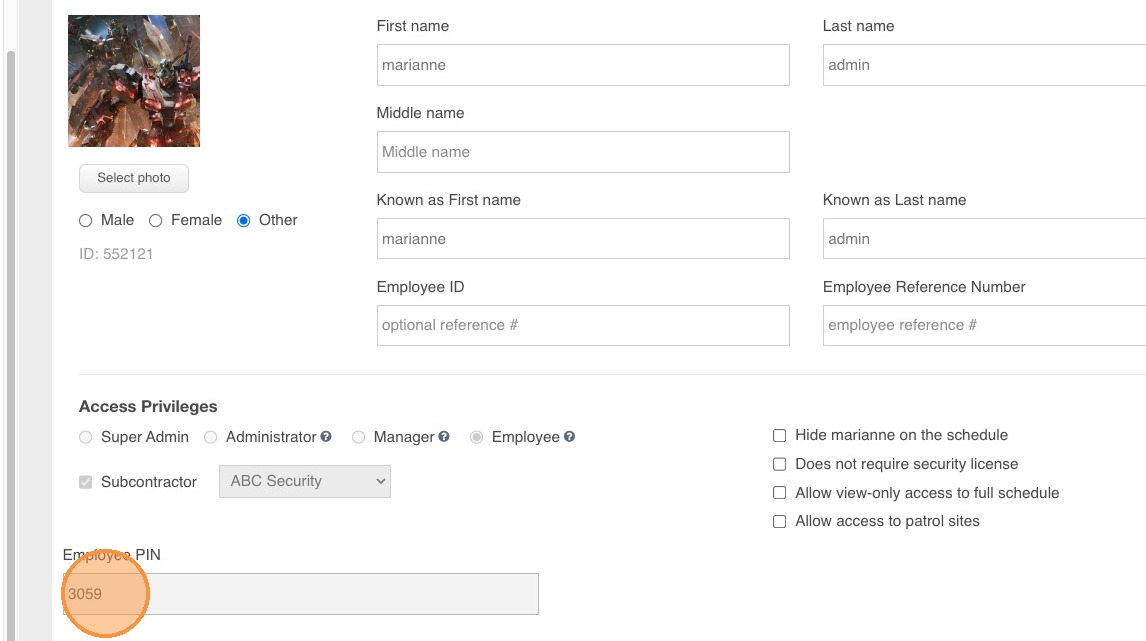
14. Subcontractor PIN can be found on the Staff profile. Please note that subcontractor guards will have to input the PIN on the top company end and not the one on their mobile app.
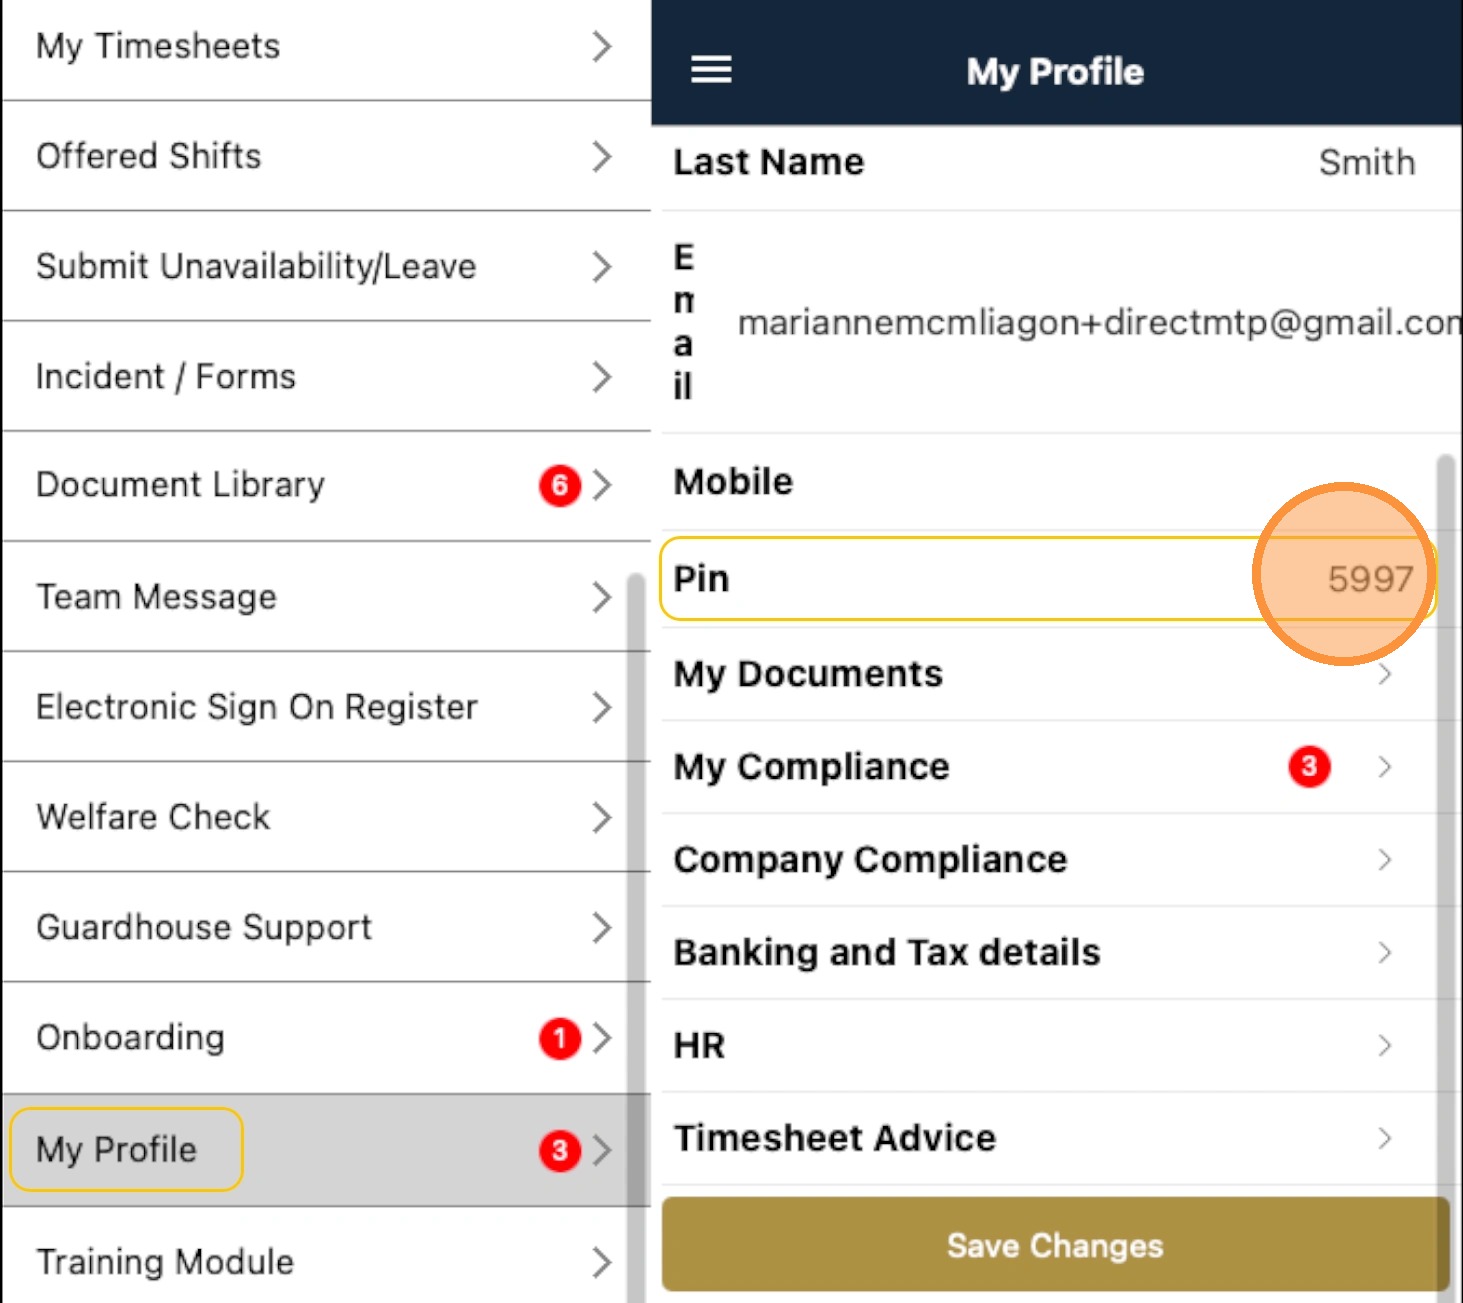
15. For direct staff, their PIN can be found on their Guardhouse app under My Profile > PIN.
Note: PINs for both direct and subcontractors can also be requested from the Guardhouse team.
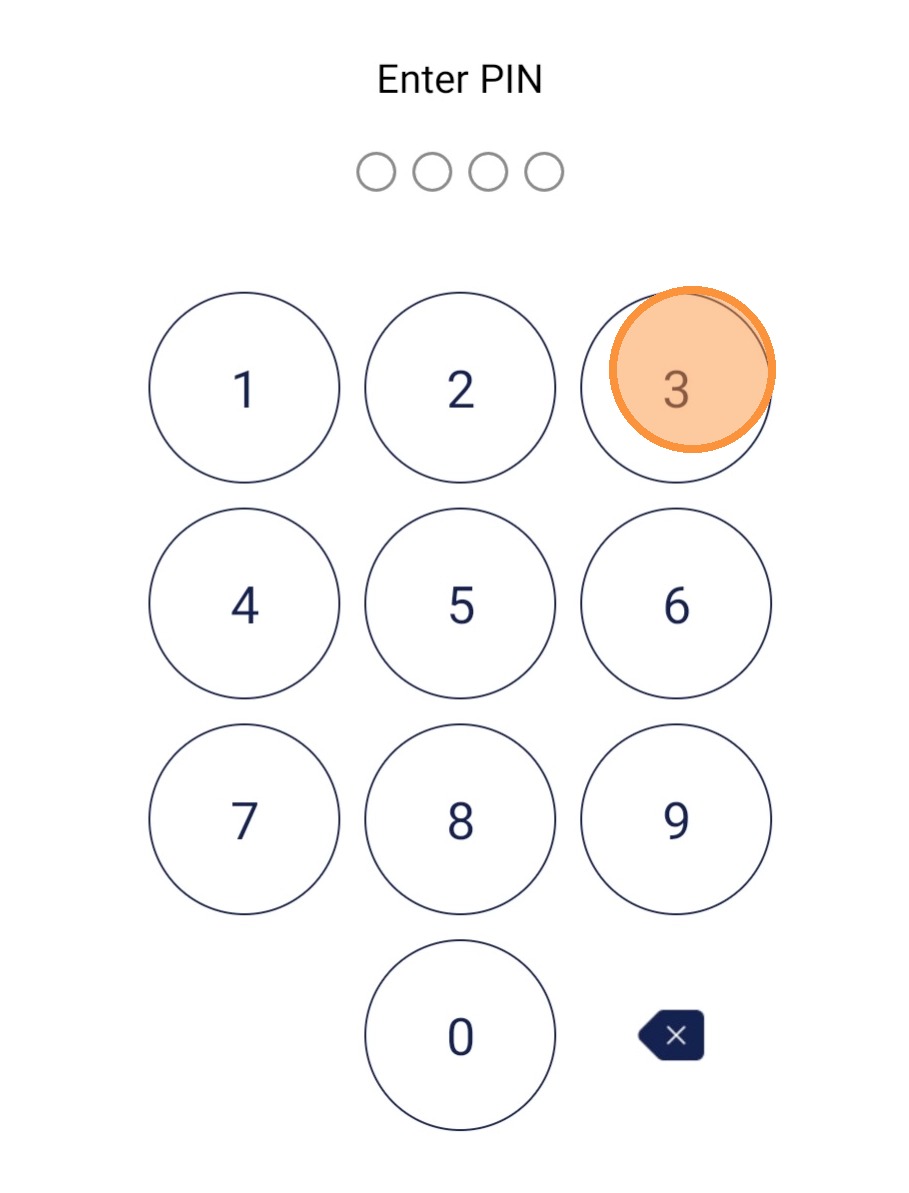
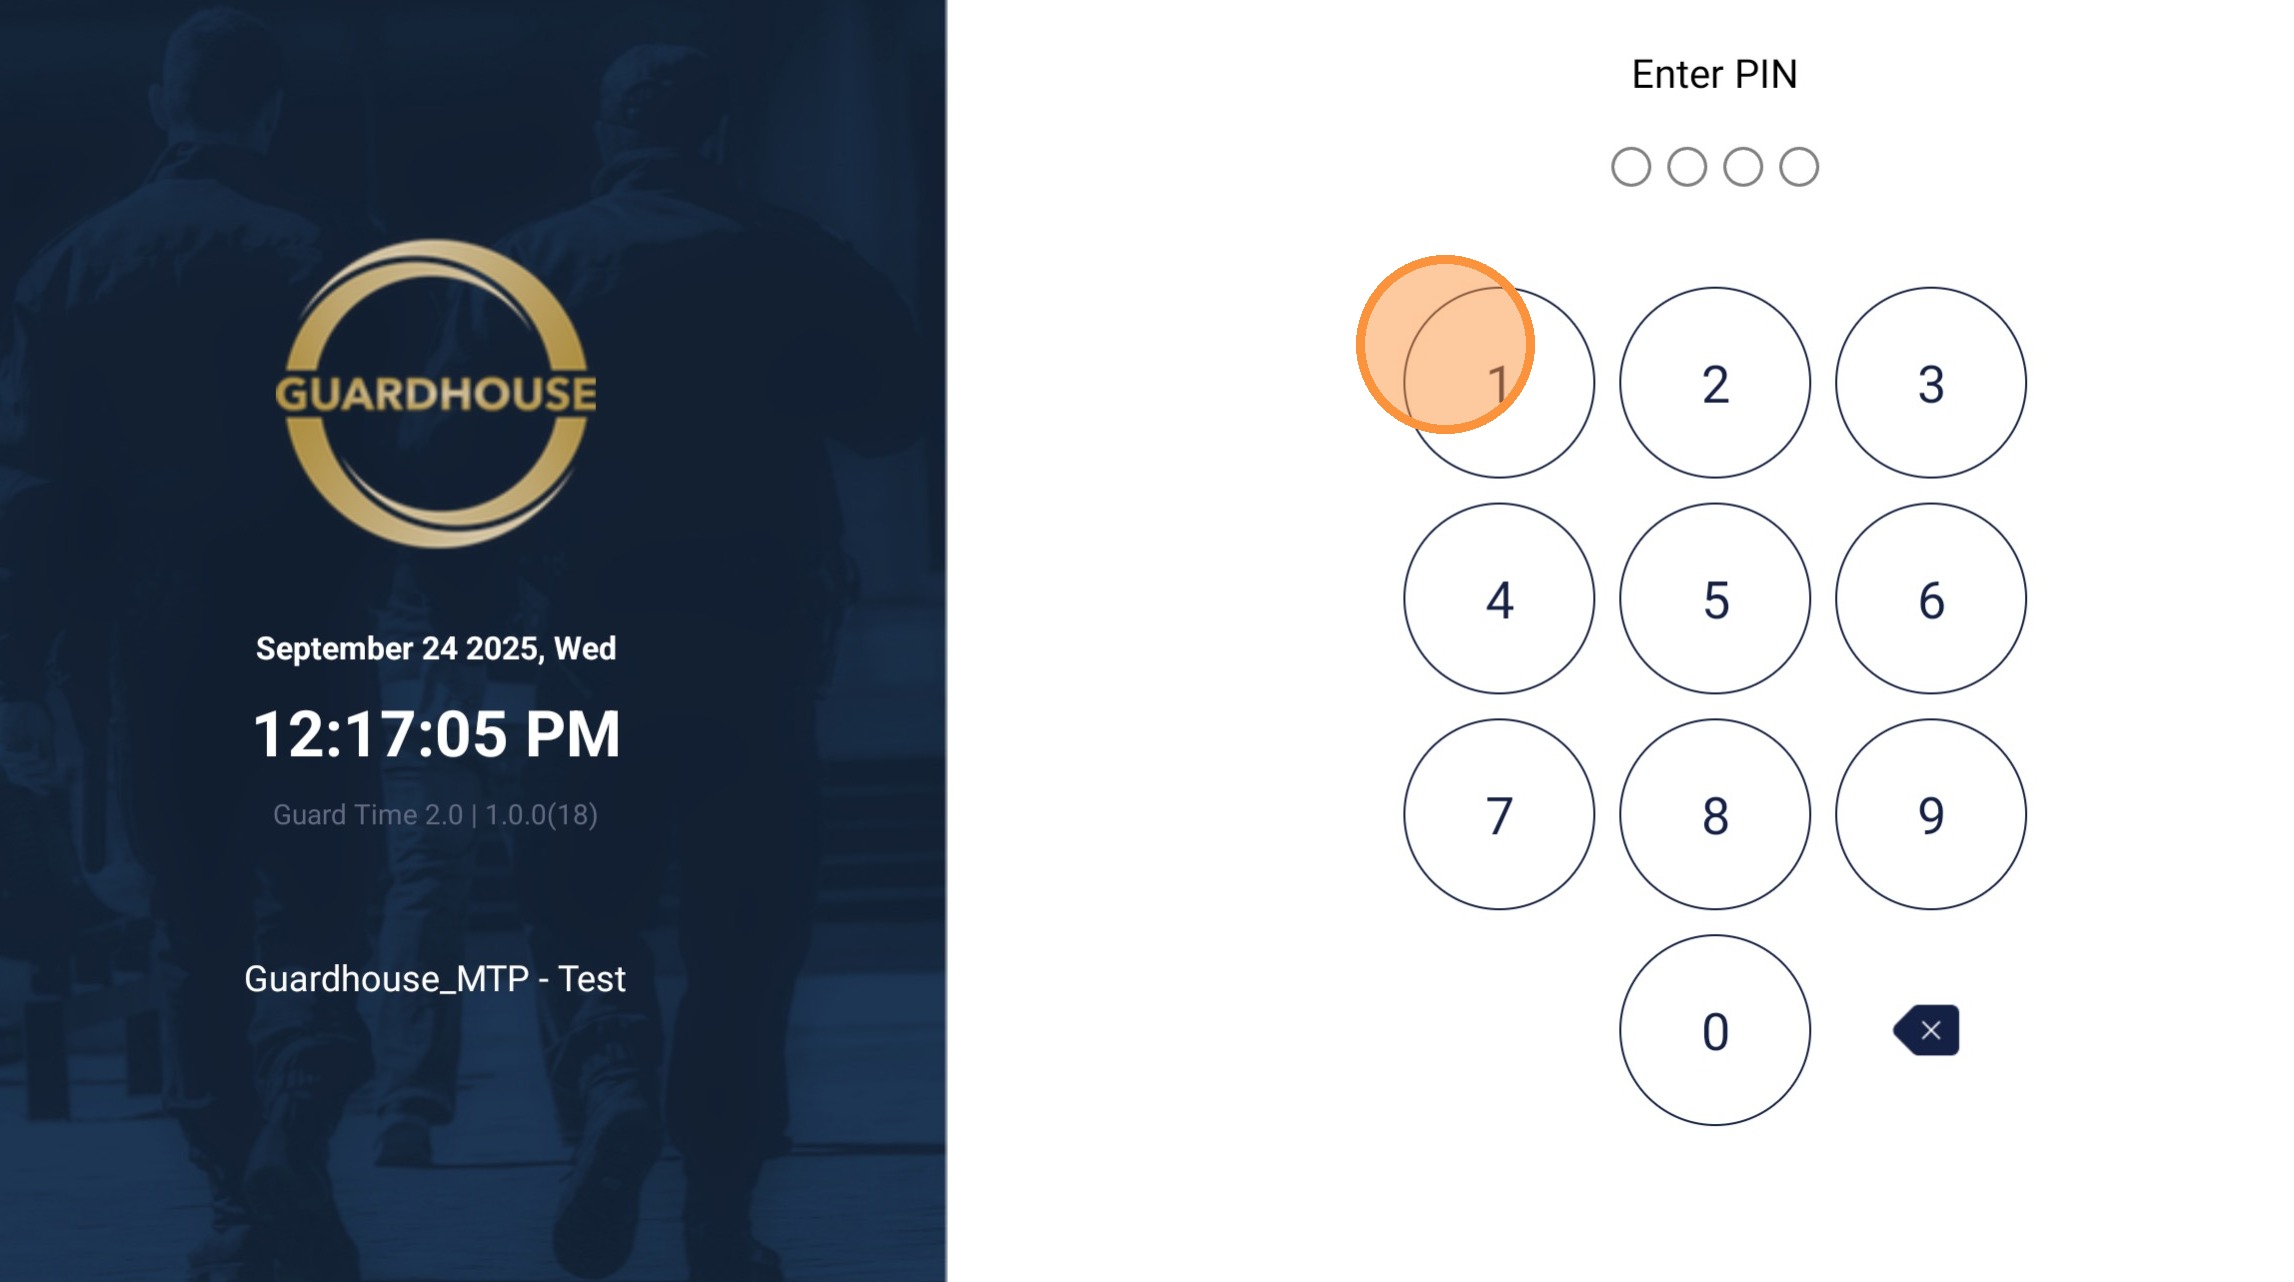
16. Guards can now enter their 4-digit PIN
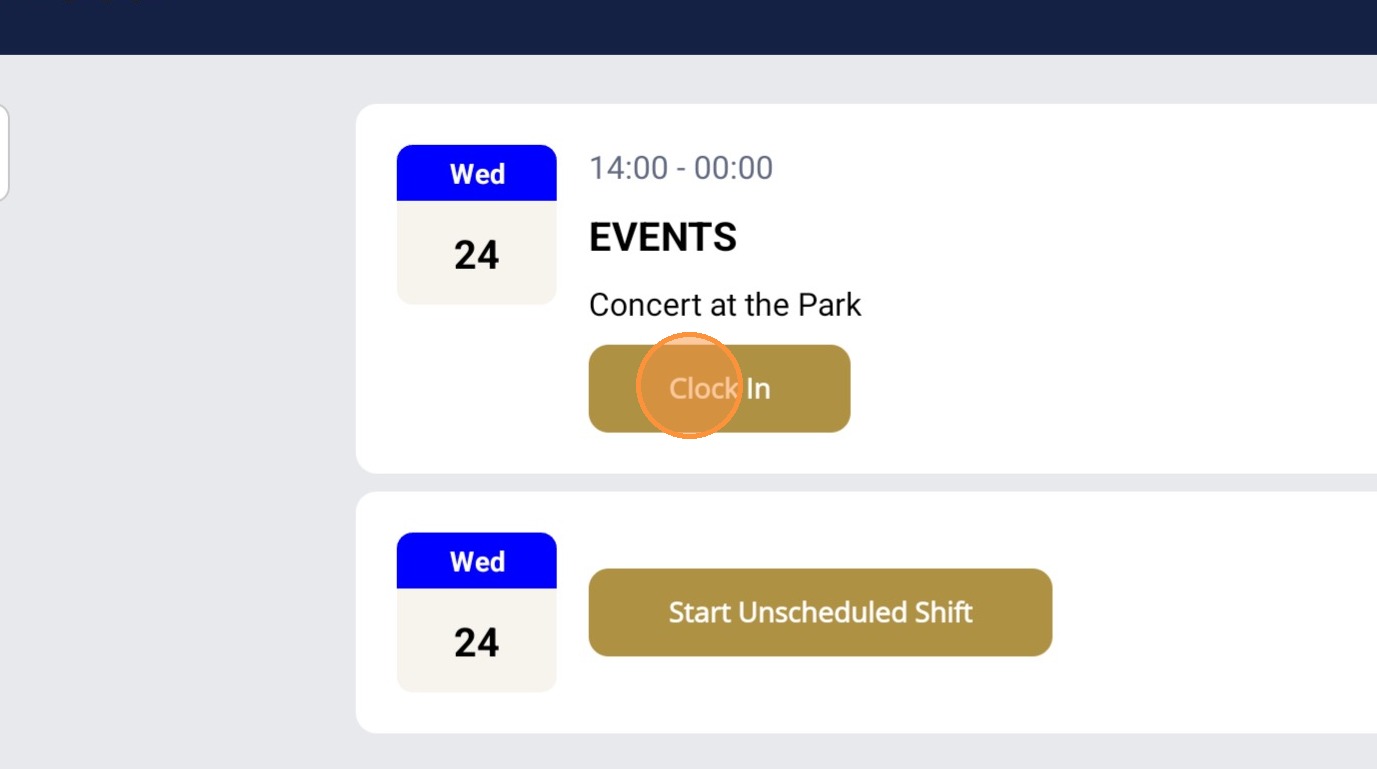
17. Once logged in, the guard will see their shift as well as the option to do an Unscheduled shift.
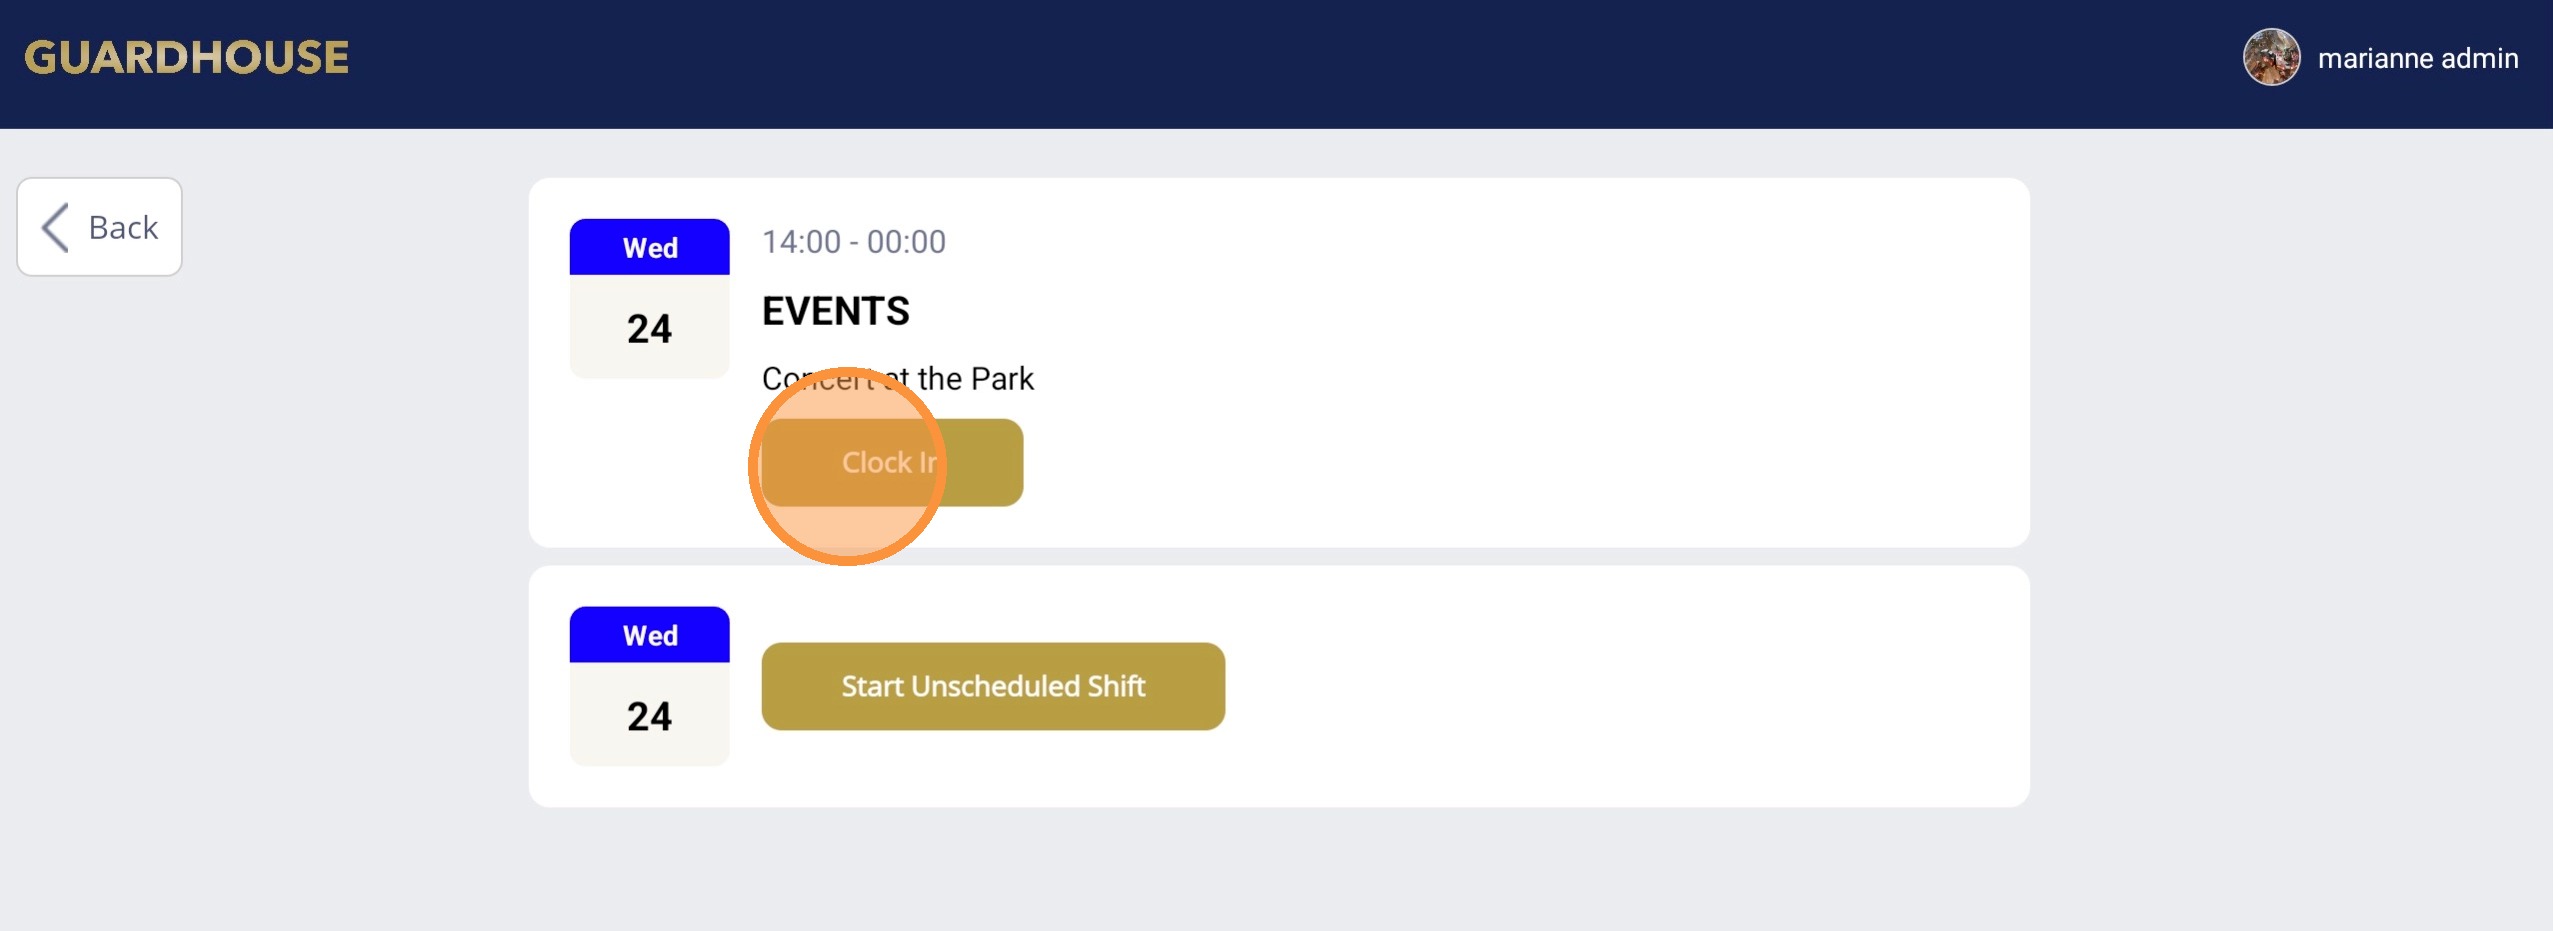
18. Click Clock In to start the shift
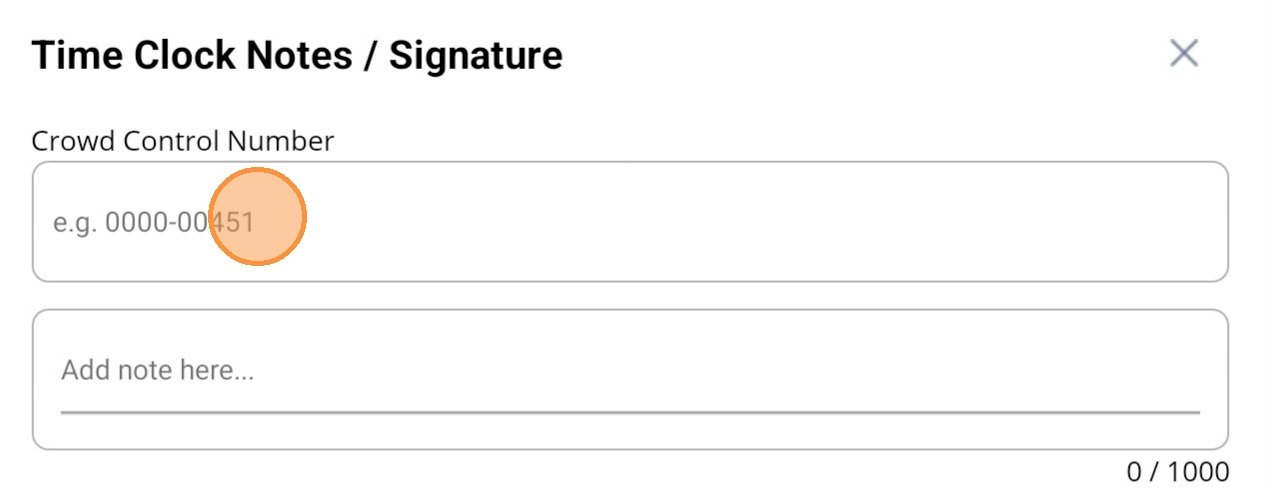
19. Custom ID (ex: Crowd Control Number), Notes, and Time options will be available depending on the set up done for the account.
20. For time entries, the following options will be available: device time/current time, rostered time. Manual time entry is also available but this will have to be enabled in the backend.
For the example below, manual clock-in has been enabled.
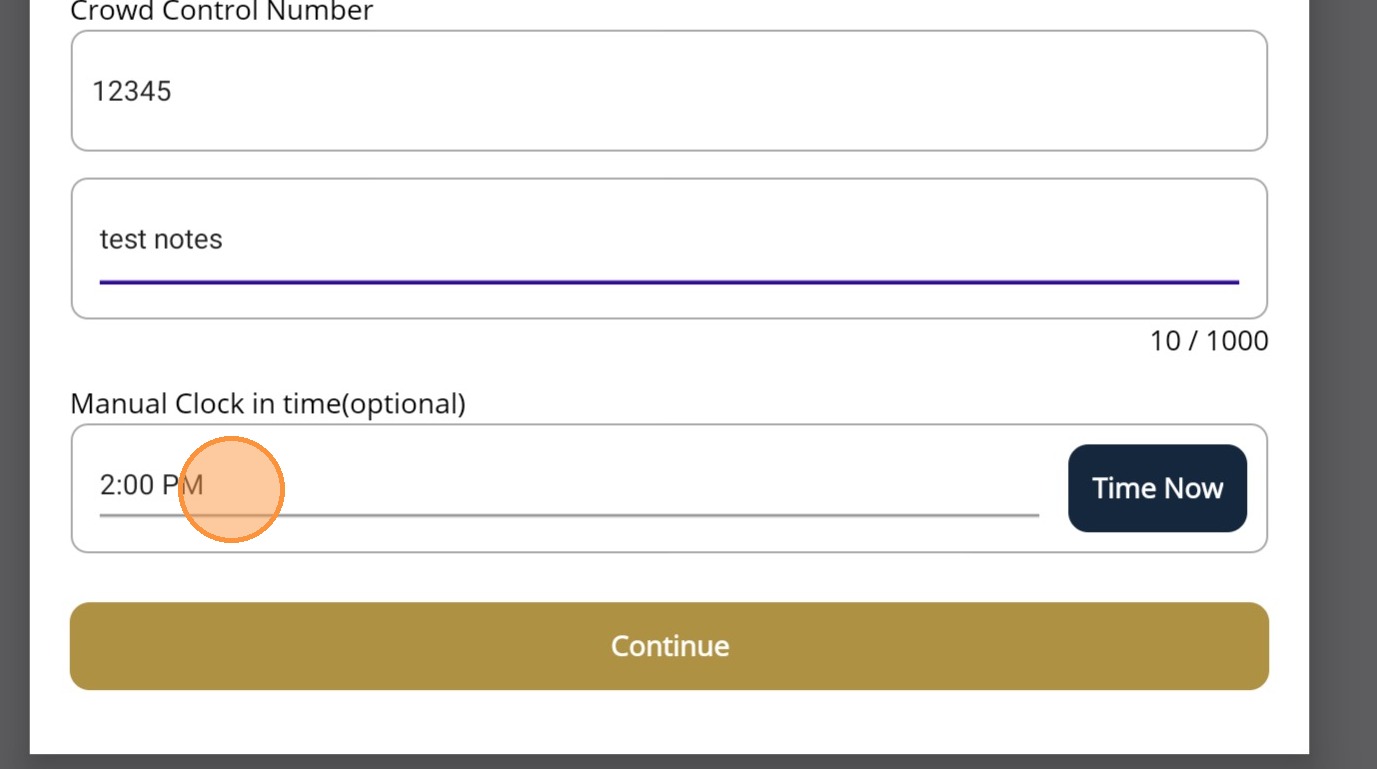
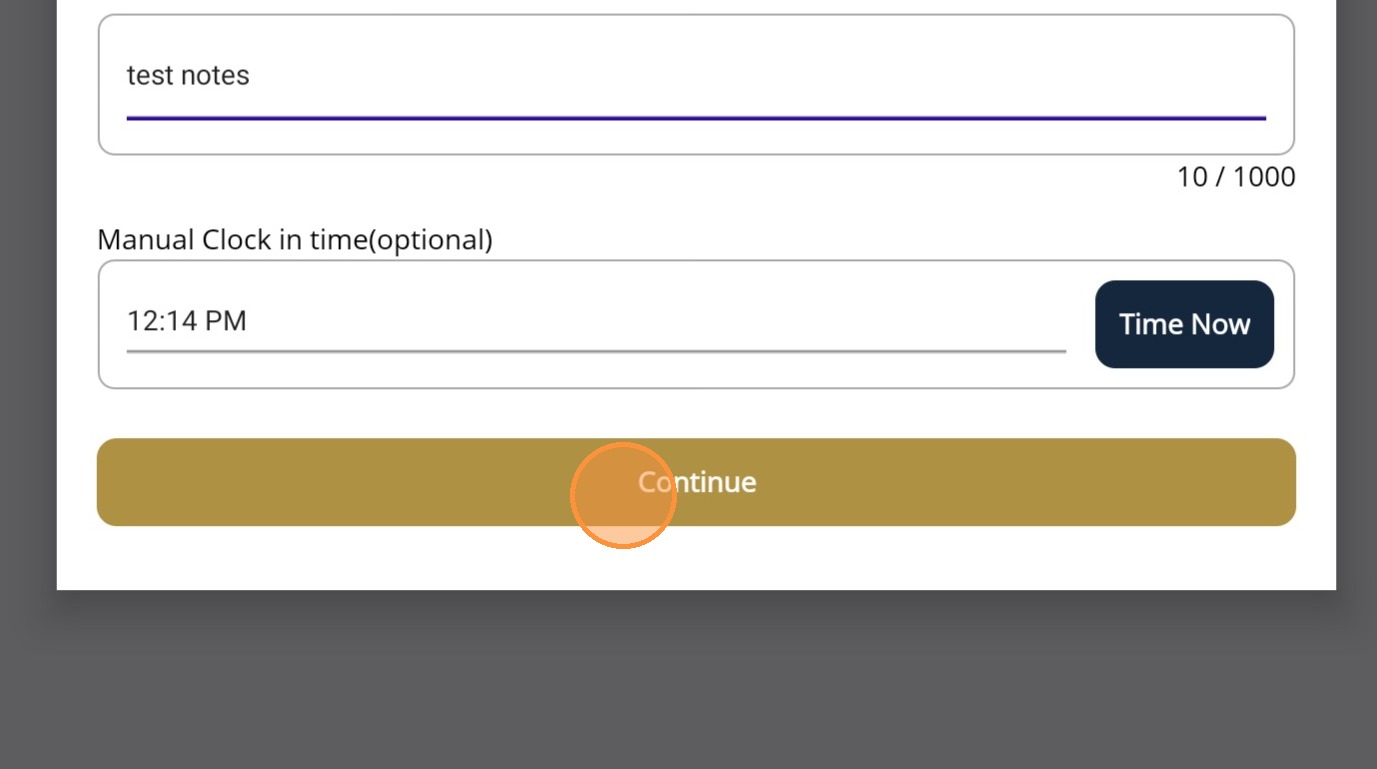
21. When manual clock in is enabled, the guard can choose the clock in time.
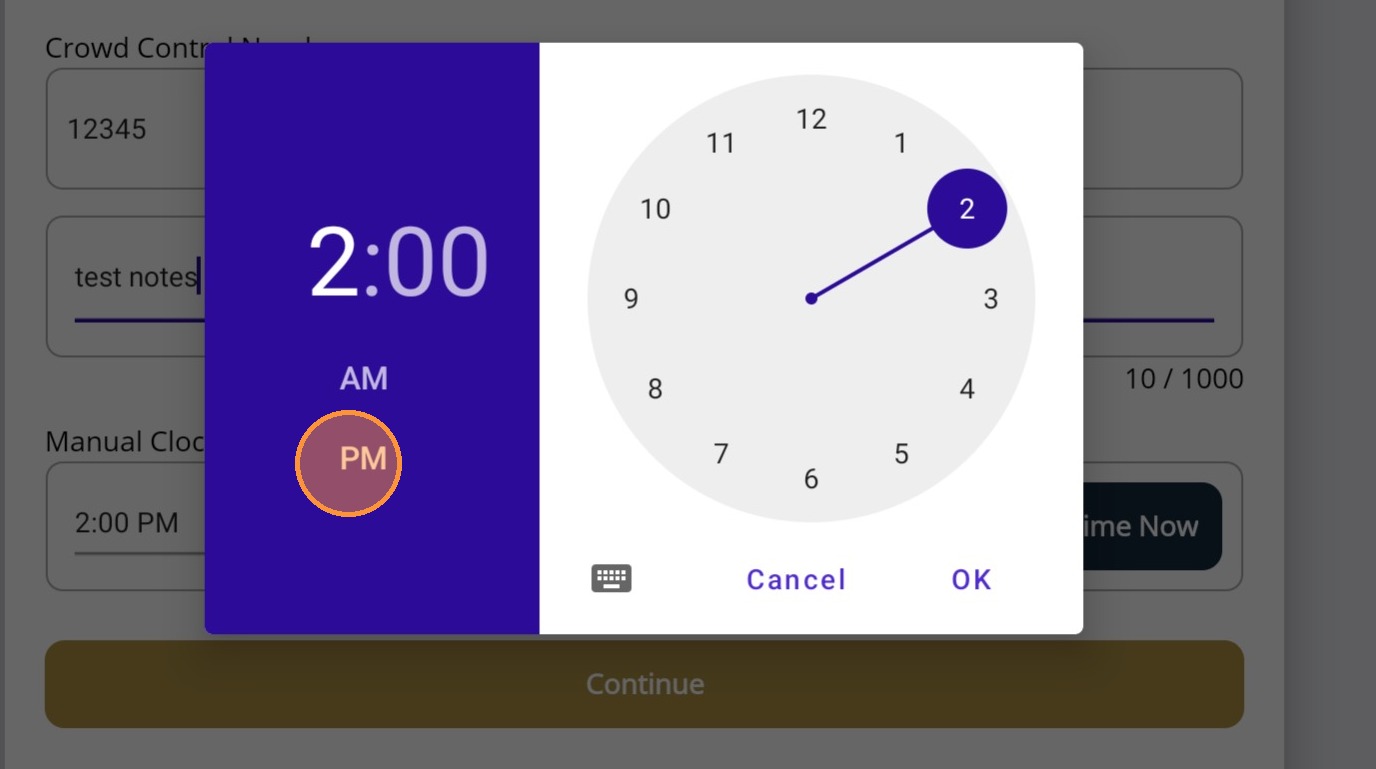
22. Click Continue
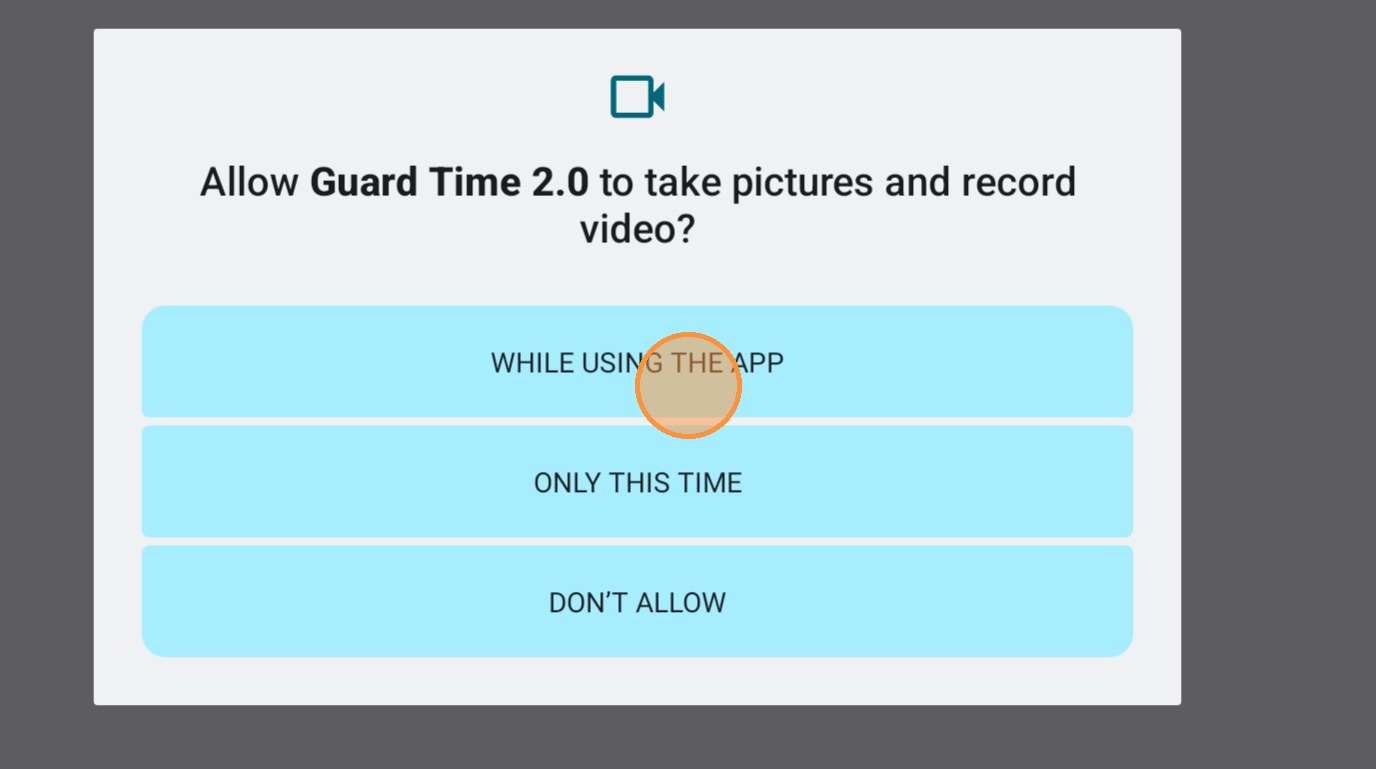
23. Permission will be asked to take a photo for the clock in
24. Take a photo
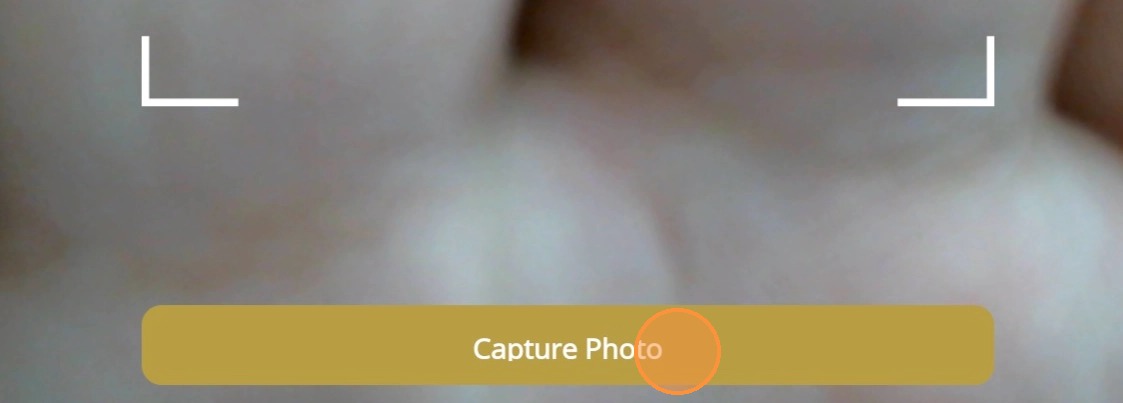
25. Once the clock in is done, you will be taken to the page below.
26. The same process will need to be repeated for the clock out.